New doctor and Doctors’ Schedules

We welcomed Dr. Kelly at the clinic in May 2022, and she has been a great addition! She specializes in deep tissue trigger point release therapy, sports stretch therapy, cupping, scraping, and chiropractic adjustments. She is also a certified massage therapist and has worked with professional athletes including the San Francisco 49ers and Golden State Warriors. She combines her knowledge of massage and deep tissue work with her chiropractic sessions to help her patients feel their best. Come book a session with Dr. Kelly today!

Dr. Kelly Schweitzer DC is here on Tuesday's from 9 am - 12 pm, 2 pm - 5 pm. Wednesday’s from 8:30 am - 12 pm, Thursday’s from 9 am - 12 pm, and Friday’s from 8:30 am - 12 pm

Dr. Justin McLeod DC is here Monday/Wednesday 8:30 am - 12 pm, 3 pm - 6 pm; Tuesday/Thursday from 9 am - 12 pm; Friday’s 8:30 am - 12 pm, 2 pm - 5 pm.

Call or Text 831-713-8400 or Email scssfrontdesk@gmail.com

Yoga for Healthy Aging class

Hello everyone!

Our Yoga for Healthy Aging Class is extremely beneficial for people of all ages! In the class you will have the opportunity to improve your balance, flexibility, strength, and circulation. Yoga is also effective for stress management and reduction. Yoga is a life-long practice and over time, the individual, if persistent and consistent in their practice, will see the change and benefit of yoga. The classes are taught by our wonderful yoga instructor Mel Defe who has been practicing yoga for years and continues to incorporate new techniques in her classes. Mel recognizes individuals' capabilities and strives to help people grow within those capabilities. We currently offer yoga classes on Tuesdays and Thursdays 10am-11am and we are exploring the option of adding an additional class to our schedule. We would like to add an additional class in order to give more people the chance to come and practice with us. The new class would take place on Wednesdays 1:30pm-3pm. If you are interested in joining us for this new time slot please let us know so that we can make the new class official. :-)

Namaste

yoga 2.jpg
Olivia yoga 1.jpg

How Thai Massage Moves You Outside Your “Norm” for Deeper Benefits

DELVE INTO ALL AREAS

The various physical positions applied during a Thai Massage session can help access and benefit areas of the body other styles of massage can’t quite get to. For example, substantial flexibility can be achieved with combined passive movement and unique massage techniques while in spinal twists and forward bends. Dynamic chest opening stretches counteract the inevitable hunching of desk work. Full body joint articulations help free up mobilization therefore increasing range of motion. Bodywork to hip flexors, hamstring attachment points and large glute muscles can help relieve associated pain in the lower back or hips. This broad availability expands the overall physical benefits of Thai Massage.

MOVEMENT OUTSIDE OF YOUR “NORM”

No, you do not need to be flexible for this! In fact, if you are tight and inflexible you likely need this all the more. Muscles that have been in a long-held shortened position (such as hip flexors while sitting) or doing a repetitive motion (such as the firearms of a hair stylist) over a long period of time essentially “forget” how to be extended and relaxed. The result is an overall feeling of “stuckness”. Your therapist will put together a sequence of moves and postures specific for your personal needs and tight areas. The stretches move you to your edge and gently outside of your “norm” reminding your body to let go of patterning built up during the day, month and even lifetime. 

UNIQUE TO ITS ROOTS

Originating in India 2500 years ago, Thai Massage is a healing modality with it’s roots in Yoga. The integration of yoga principles make this bodywork unique to all others. What sets Thai Massage apart most obviously is that it is received fully clothed on a comfortable floor mat instead of nude on a table. Since clothes are kept on the receivers body can be effortlessly guided into various yoga-like positions and deep stretches. 

Book your Thai massage with Sidney at Spine & Sport. She has been a Certified Massage Therapist since 1999, focusing on Thai Massage since her first training at Wat Pho Temple, Thailand in 2006. In addition, she has dedicated many years to teaching Thai Massage as well as Yoga & Brazilian Dance throughout the Bay Area and beyond. 

Thai 1.jpg
Thai 2.jpg

Exercises for Upper Cross Syndrome

To appropriately address the muscular imbalances of upper cross syndrome, one must do more than simply stretch tight muscles regularly. It is imperative to also exercise the inhibited muscles, especially the rhomboids as demonstrated in the video. One can also exercise the deep neck flexors while doing standing rows. This is accomplished by retracting the chin into the Adam’s Apple with each standing row repetition. This addresses the forward head and shoulder posture commonly seen in upper cross syndrome.

Upper Cross Syndrome Stretch #2

Many people say, “I️ hold my stress in my shoulders.” This is most likely from consistently contracting the upper trapezius muscles throughout daily postures. It is important to not only be aware of keeping your upper trapezius muscles relaxed, but also to take breaks to stretch the upper traps at least 2 to 3 times a day. Start by stretching each upper trap for about 30 seconds, contract the upper traps while fully lengthened with about 20% to 50% of muscle strength for about 8 seconds, and finish by fully stretching the upper trap while contracting the deep neck flexors with about 20% to 50% of muscle contraction by actively bringing the chin to the collar bone for at least 10 seconds.

Cervical Spine Controlled Articular Rotations

One of the immediate benefits of chiropractic treatment is increased range of motion. In order to integrate improved range of motion to the rest of daily life. Here at Santa Cruz Spine & Sport like to empower people by prescribing exercises to enhance the affects of our care. Controlled Articular Rotations (CAR's) is a great way to gain motor control through the entirety of the range of motion in a joint. In this video, Dr. Kyle Hardwick teaches CAR's of the cervical spine in order to gain increased range of motion AND integrate motor-control throughout that new range. This is a great simple exercise for neck pain. 

Upper Cross Syndrome Stretch #1 (Sub Occipitals)

The suboccipital muscles are a muscle group that is commonly tight when one holds improper posture with the head and neck. Most of the time when one sits at a computer or looks at a phone for a long period of time, the head and neck protrude forward and the chin tilts upward a bit. This position contracts the suboccipital muscle group. When this contraction is held for more than 8 seconds, it cuts off some blood supply to the muscles which over time will cause the muscles to harden and possibly calcify in the long term. We can prevent this by keeping our head and neck back or simply being mindful of not protruding it forward when we sit. But if this improper posture is commonly held, then we would want to stretch the suboccipitals by retracting the head and tucking the chin into the adams apple area of the neck. Only hold this stretch for about 5 seconds and then while at the peak of the stretch, use the hand to push from front to back on the forehead while pushing the forehead into the hand with about 20% of the muscle capacity for about 5 seconds. This stretch can make one sore so be sure to start off only doing 5 reps and 2 sets daily and slowly increase it to 10 reps and 3 sets daily over the course of several weeks.

Upper Cross Syndrome Pec Release

The pectoralis major muscles become very tight when we repetitively use the improper posture of sitting hunched over while working on the computer, phone, or reading. The muscle develops trigger points which present as tender lumps in the muscle belly. One can reduce a trigger point by using a lacrosse ball or therapy ball to put pressure between the trigger point and the wall while maintaining pressure, incorporating small movements over the area, or pinning the trigger point and moving the muscle through the full range of motion. This is a great way to reduce tightness in the muscle and improve Upper Cross Syndrome.

What is Upper Cross Syndrome?

Upper Cross Syndrome is the most common postural distortion pattern that we see in our clinic. Upper Cross Syndrome is recognized as improper posture where we hunch forward in the lumbar, thoracic, and cervical regions, round our shoulders forward, and hold our head forward. This causes primarily hypertonic (tight) pecs, upper traps, and sub occipital muscles as well as secondarily hypertonic teres majors, and subscapulari. It also causes primarily inhibited (stretched) rhomboids, lower traps, and deep neck flexor muscles as well as secondarily inhibited infraspinati and teres minors. Upper Cross Syndrome can lead to the following conditions:
•Disc Degeneration
•Disc Compression
•Restricted Breathing
•Thoracic Hyperkyphosis
•Depression
•Increased Stress
•Diminished Energy
•Decreased Libido
•Tension Headaches
•Digestive Symptoms
•Constipation
•Acid Reflux and Hernias
•Obstructive Sleep Apnea
•Cardiovascular Irregularities

The good news is that there are great chiropractic treatments for Upper Cross Syndrome as well as effective home care remedies such as stretching, exercising, self muscle release, and practicing proper posture. Keep an eye out for future videos explaining these home care approaches.

Proper Posture while Sitting

https://youtu.be/jiVGfMIHSyE

Sitting is comparable to smoking from an ergonomist's perspective because it slowly takes a toll on the joints, muscles, tendons and ligaments in the body as well as prevents the nervous system from functioning to it's full potential. For this reason, sitting should be minimized when possible.

Sitting is comparable to smoking from an ergonomist's perspective because it slowly takes a toll on the joints, muscles, tendons and ligaments in the body as well as prevents the nervous system from functioning to it's full potential. For this reason, sitting should be minimized when possible and healthy standing or movement breaks should be utilized. However, when we sit it is important to practice proper posture to reduce the stress on our body as much as possible. Proper posture while sitting is accomplished starting from establishing our forward pelvic tilt to induce a proper curve in the low back. Once the pelvic tilt and low back curve are established, the rest of the spine follows suit and the muscles don't have to work as hard to maintain proper posture. This is accomplished by dragging the buttocks down the back of the chair in the act of sitting down so that proper forward pelvic tilt is maintained. 

T-Spine Rotation!

Exercise of the Week!

T-spine rotation!

I like to use this exercise before or after I work out to either help prepare me for the movements I'm about to do or to help decompress after a work out.

To set up your lying on the floor on your side. You can use a pillow or towel for your head (in the video I didn't, it's not necessary but it's up to what's comfortable for you). With the roller parallel to you bend your top knee and place it on the roller, so your hip and knee are at 90 and 90 with your body. You are pushing a little bit with the knee into the roller to ensure that your spine is locked in place and to help limit extension. The roller also helps to ensure that your hips are neutral.

Begin by rotating the top shoulder towards the floor and gently begin to rotate drawing your arm across your body. The idea is to bring the top of shoulder down towards the ground. As you move your top arm make sure your head and your eyes follow your hand. Only reach as far as you can go while maintaining eye contact with your hand. Or if the hips start to pull back or the top knee lifts off the roller you've gone too far.

This is by far my favorite exercise for rotation of the back! Test it out and let me know what you guys think!

Tag us #SCSpineAndSport to help us to share our story!

Thank You Nikki Ariel Pettel 👋

Cat Cow

Exercise of the Week!

Back Pain

This is one of my go to exercises to help relieve back pain while getting mobility and blood flow back to the injured area. Or if you are happy and healthy I like to do the cat cow to stretch after a workout or sitting all day long in class. The Cat-Cow also helps with body awareness of the scapula and pelvis. 

If you have neck or back injuries you can still perform the cat cow just keep the head in line with the torso, not dropping it forward or back, and only moving through the positions without pain. If there is pain do not continue. 

Start with your hands and knees with your wrists directly under your shoulders, and your knees directly under your hips. 

Lift your chin and chest, and gaze up toward the ceiling. Pull your shoulders away from your ears, and tilt your pelvis forward.

Then draw your belly to your spine and round your back toward the ceiling. Let your head relax but don't force your chin to your chest. 

From there return back to the Cow Pose and repeat :-) 

You can also add to the cat position holding for a couple extra breaths pushing your hands and knees into the floor trying to bring your belly button towards the ceiling as you breath out. Then continuing with the motions of the cat cow. 

You also see in the video I add a couple reps where I sit back on my heels and then rock back forward. I use all these variations to help keep my spine mobile and healthy. If you have back pain I don't suggest going into the seal position, but rocking back on your heels and reaching forward can be a relaxing and relieving stretch. 

Try it out :-) 

Tag us #scspineandsport to help us share our story!

Thanks @nikki_pettel

Daily Hip Openers On The Go

Exercise of the week!

Hi SCSS Family!

Today I have two different exercises for you to help work on hip mobility. 
The idea here is that you can do these anywhere, at work, waiting for the bus, or at home before bed :-) 
3-5 minutes before bed and maybe a couple more times throughout the day. 

The first drill is with your bed or couch or chair :-p
Bring one leg up trying to get your knee flat on the surface. If your knee is off the surface that is ok! Work towards getting it lower. You can also try stepping your back leg back and then lean forward over your front leg. 
Hold for 1-2 min and then switch!

The next exercise is similar but now instead of using a couch you are going to try and bring one leg above your knee to make a figure four position and then hinge forward and lean over your leg. 
If you need have something next to you that you can grab onto to help you balance. 
Or you can also sit on a chair in the same position and lean over your front leg!
For those of you that need a little bit more of a stretch grab under your top foot and pull up to increase the stretch. 

Try these two out! See if you can do them everyday this week and let us know how your feel :-) 


Tag us and help us share our story #scspineandsport 

Thanks @nikki_pettel

Banded Dancing Bug

Exercise Of The Week!

Hey SCSS Family!

Today we have a progression of the Dead bug! I have shown a couple different exercises with these bands, and I am hoping you can watch these videos and create a home workout or some routine to help keep you improving and feeling better!

To start bring your knees up in line with your hips at a 90 degree angle with the band around your feet, feet flexed. 

Flatten your back out against the floor by tightening your abdominal muscles. This will also activate your obliques and posterior core and pelvic floor muscles. Keeping your back flat against the floor slowly kick one leg out while resisting the pull of the band with the other leg. Eventually trying to kick your foot a couple inches off the floor and return to the starting position. Make sure as you kick one leg out you're not bringing the other knee into your chest, keep the knee over the hip. 

I like this variation because it challenges your core while challenging hip flexion and extension at the same time. 

Make sure you are in control the whole time, don't rush the movement. 

Try it out and tag us #scspineandsport Help us share our story😃 #movewell #feelwell #livewell #chiropractor #rehab @nikki_pettel

Single Leg Balance Challenge!

Exercise Of The Week!

The Balance Act!!  

This week we are working on our single leg balance. 
Always a great challenge and will help any activity you do with both legs to make sure you're stable and activating the right muscle groups. This takes a single leg deadlifts and challenges you just a little bit more. 
If this is too hard break each piece up into different segments and try them on their own. Holding either for time or completing for reps. 

Start with your leg out in front of you. Try to get it as close to 90° as you can. From there you are bringing your leg behind you as your leg moves your torso follows by leaning forward, keeping a straight line from your shoulders to your knee. Try and keep all the pressure in your standing foot in the ball of your big toe, your pinky toe and your heel. Creating a good base for you. If you can try and get parallel to the floor, if that's too hard don't go as far for now. And work on being able to go farther as you progress. 
You're going to Stand back up and bring the leg into the tree yoga pose. So it almost looks like a figure for a position. If it's too hard to keep your foot by your knee, start with your toe on the floor and heel against your leg. Then work your way up as you get better!! 
From there you're going to kick your leg across from you. 
Then keeping your leg up as high as you can bend your knee and try to get your ankle and knee parallel to the floor. 
Keeping your shin parallel to the floor try and bring your leg around so it's behind you and then return to start. 

If you can repeat the whole process👏👏 

Try it out and tell us what you think. 

Tag us #scspineandsport 💪 Help us share our story. 

Comment below with questions! Or requests for future exercises!! 😁👋 Thanks @nikki_pettel

Clamshells Intensified!

Exercise Of The Week!

Clamshells Improved!

Exercise of the Week!

This week we have a couple clamshell variations. You can either do this with the band or without depending on how difficult it is for you. 

Start on your side with your base elbow under your shoulder. 
Make sure your other arm is in line with your shoulders and your elbow as well, that way you know you aren't leaning forward or slouching through your shoulders. 
To start squeeze through your glutes and push your forearm and base knee into the floor as you press up into a modified side plank. Think of hip thrusting as you push up to help activate your glutes. 
Now you should be in a side plank. 
From here preform a clamshell. Abducting your top leg activating the glutes even more:-) Make sure the hips stay square so you aren't compensating in any way. 

The next progression, takes you from the clamshell and adds an extra piece. In your side plank Abduct your top leg, Keep the top knee in place try to Internally Rotate the top leg getting the ankle up as high as possible without letting the knee drop. Really resisting the band pulling you down. If done correctly your glutes will be on fire!! But I love this exercise because it activates the anterior and posterior hip muscles!

Comment bellow with any questions!
Tag us in your attempts #SCSpineAndSport
Help us share our story:-) 

For any future exercise video requests please comment bellow!

#chiropractor #rehab #training #feelwell #livewell #movewell #painfreeliving #painfree #movement

90/90 Hip Mobility

Exercise Of The Week!

Exercise of the week!

Hey Spine and Sport family!

This week I have an exercise for you working on hip mobility, strength and control.

There are a crazy amount variations with this exercise, ways to progress, simplify, and combine with other exercises. For today I am going to show you 3 different variations of this exercise to show you a little bit of a progression.

Start your leg should be in front of you bent at 90 degrees. Your other leg should be out to the side also bent at 90 degrees. Sit up nice and straight. If you want you can lean forward over your front leg to get a nice stretch (not shown in video). 

Sit up straight. from there I like to hold my hands out in front of me and then try to swivel to the other side. Now your front leg should be on your side. This is a nice starting exercise to help with your hip range of motion. 

From there you perform the same drill, and then in the 90/90 position try to lift of the back leg. Lift off the knee and ankle from the floor, try and get the ankle up a little higher and hold for 1-3 counts then relax and swivel to the other side to perform the exercise on the other leg. 

In the last exercise you are going from the floor to a tall kneeling position. Squeeze through the gluteus, try to come up to your front knee. Make sure to control the movement on the way up and back down! 

Try this out and let us know what you think! If you have any questions let us know, or comment bellow!

Share your attempts and tag us #scspineandsport

The Posture Fix!

Exercise Of The Week!

Exercise of the week!
Posture Fix!
The Brueggar's Exercise! 👌😁

I like this exercise because it activates the muscles that we are not using when we are sitting at a desk. Instead of letting ourselves get used to slouching it helps us extend an externaly rotate the shoulders. Allowing for further stretching and a more balanced posture.

🌀To start stand up straight and grab a band between your thumbs with your palms facing away. Leave a little bit more slack in between you hands because won't be able to move after you set up if there isn't enough room Turn your palms towards you so the band is still draped across with them. Bring your hands over the top of the bed and under so the band is wrapped around your hands.
Your hand should now be in front of you palms facing one another, thumbs up, and elbows at 90°!

🌀Now you're ready🙂🙃
Spread your fingers apart and extend your wrists. Turn your palms up slightly and start to pull your hands apart by rotating your shoulders externally. Once you have rotated them as far as you can slowly straighten your elbows out, pulling your arms back.

🌀Hold for two seconds, and then return to start slowly. Repeat this for two minutes if you can, or until you feel like you are no longer able to complete the repetition smoothly.

🌀This can be performed sitting or standing.

Try it out and tell us what you think 💭
Share your attempts and tag us #scspineandsport to help us share our story👌
#movewell #feelwell #livewell 

Sliders For The Glutes

Exercise of the Week!

Hi Spine and Sport Family!

This week we have a fun Hamstring strengthener. You can either do this body weight or with slider. I show a couple different variations in this video that start of easier and then get harder to help you see the progression of the skill. 

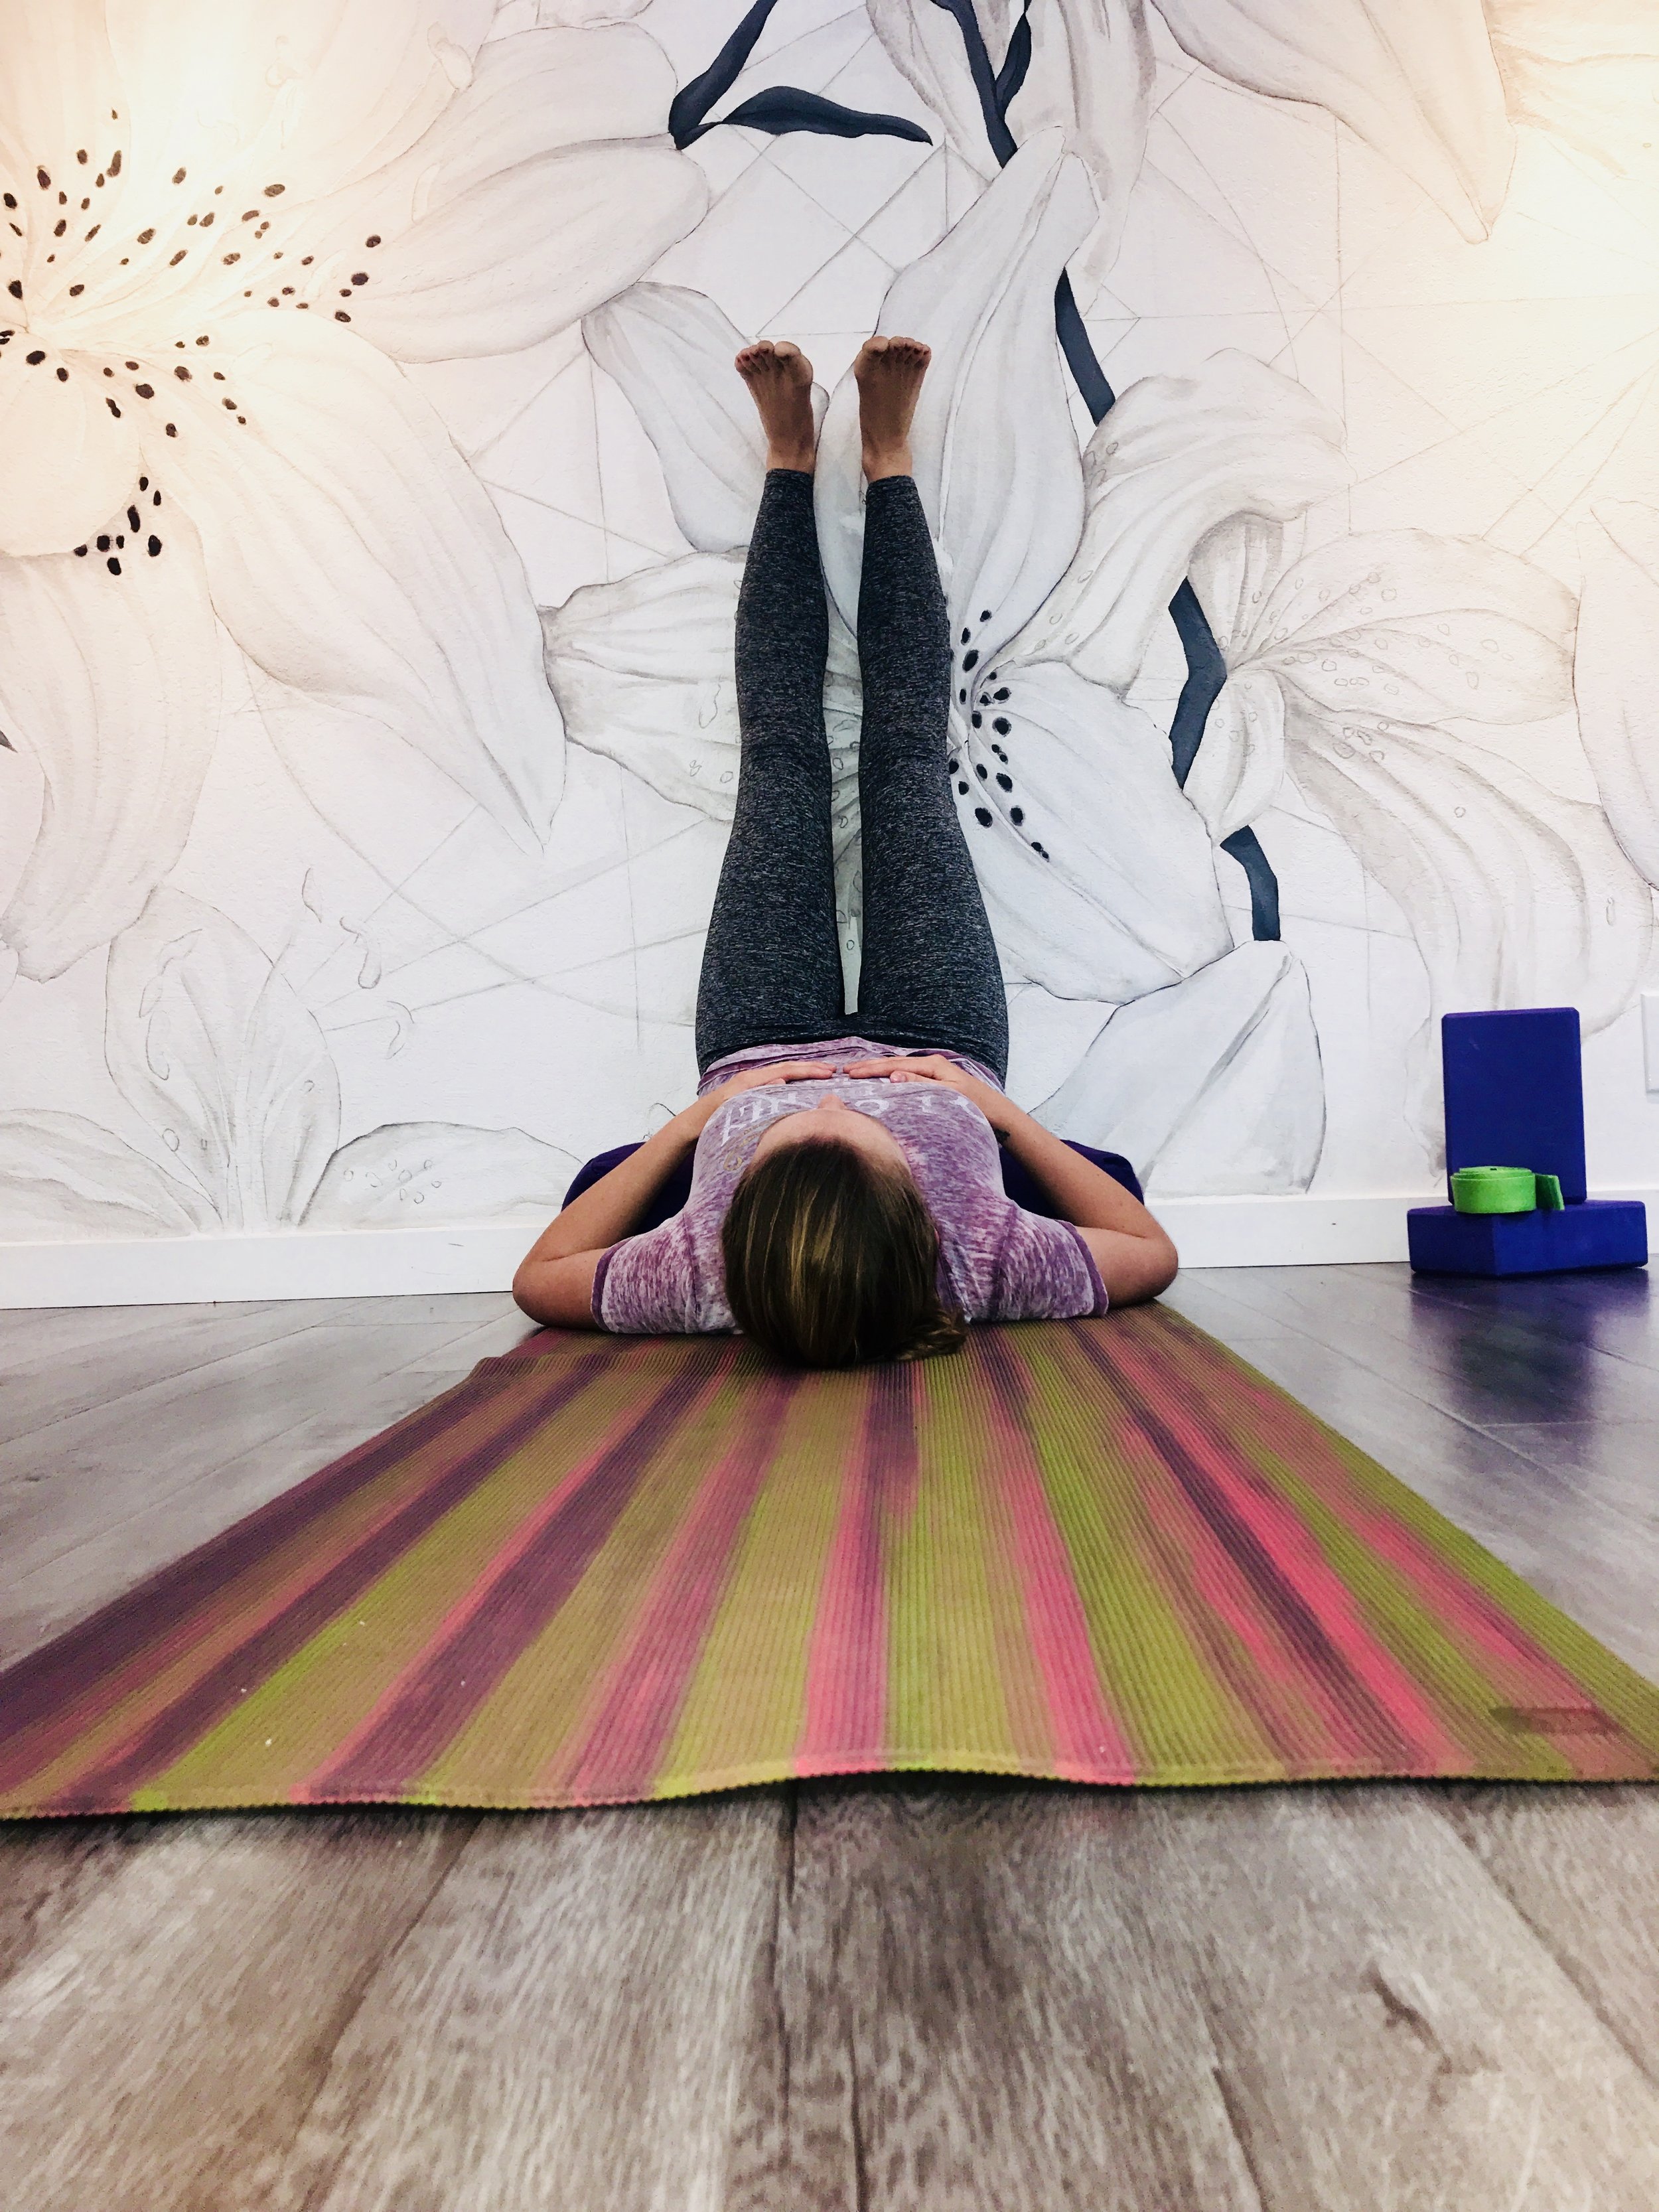
Start of lying on the floor. Bend your knees so your feet are flat on the floor, Glute bridge, trying to squeeze the glutes bringing the hips of the floor. Try to get a straight line from your knees to your shoulders. Slowly walk your feet out as far as you can. Aim for getting your legs almost fully extended. Hold for one count, then relax and bring your feet back in. Try for 3 sets of 15!

Next put a slider under one foot. Bridge up and then try to slide the slider out, Hold for one count at the bottom and then relax and bring the leg back in. Try for 3 sets of 10-15! 
- If it isn't to hard with your Base leg close to you, slowly try your sets moving start position of the base leg out, until your can complete the movement with the base leg almost all the way extended. 

Third progression! Put the sliders under both feet. Bridge up and slide both feet out. Make sure to keep the hip square and the core tight. Squeeze the glutes and hold at the bottom then relax. Slide the feet back in and repeat! 

The Final progression! Same as the third progression but now only ONE foot! With this exercise though you are only focusing on sliding the foot out, not bringing it back in.

With Each exercise you are only focusing on walking or sliding the feet out, do not worry about bringing the feet back in! Focusing on the Eccentric portion, taking it through the full range og motion. This will help strengthen the hamstrings. It is also great for if you pulled your hamstring before, to prevent future injuries. 

From here there are a variety of different Hamstring exercises you can do to keep strengthening and challenging the muscle groups. 

Try all these out and tell us what you think!

Tag us in your attempts to help us share our story! 

#SCSpineandsport

Dr. McLeod's Video Announcement for 2017 Schedule changes

Some schedules have changed in the new year. 

1.) Nikki Pattel is leaving to go to Chiropractic College.  She will be missed, but she will still be posting here weekly exercise on our Instagram.

2.) Kyle Hardwick who has been working with us for a year is graduating and will be here full time.  On Mondays, Wednesdays, and Fridays he will be working along side me and then on Tuesdays and Thursdays he will be seeing his own clients. 

3.) Dr. Aaron Van Brunt will still be here on Tuesdays and Thursdays

4.) Tiffany Logan, will still be giving massages Monday thru Friday (when she isn't snowboarding)

5.) Inara Sophia added Tuesdays and Thursdays to her massage schedule.  She will be here Monday thru Saturday.

6.) Tammy Hilleary changed her schedule.  Instead of working along side me on Mondays and Wednesdays, she will be doing private and semi-private personal training on Tuesdays, Wednesdays, and Thursdays 1-5 p.m.

7.) Yoga Classes on Tuesdays and Thursdays are still at 10:00am with Mel

8.) New Yoga class on Saturday Mornings at 10:30 will be lead by Inara Sophia

9.) Dr. Justin Mcleod's Schedule will stay the same, seeing patients on Mondays, Wednesdays, and Fridays.